How to Install a Kitchen Backsplash Yourself (And Save $400–$800 in Labor Costs)
A kitchen backsplash is one of those upgrades that punches way above its weight. It protects your walls from grease and moisture, adds a serious visual upgrade, and — when you do it yourself — costs a fraction of what a contractor would charge. Professional installation typically runs $400–$800 in labor alone. With a free weekend and a little patience, you can pocket that money and end up with a result you're genuinely proud of.
This guide walks you through every stage: measuring your space, choosing the right tile, calculating materials, prepping the surface, and laying tile like a pro. Whether you're going with classic subway tile, peel-and-stick panels, or mosaic sheets, the fundamentals are the same.
Step 1: Measure Your Backsplash Area Accurately
Before you buy a single tile, you need to know exactly how much surface area you're covering. Measure the width and height of each section of wall you plan to tile — typically the area between your countertop and upper cabinets, and the section behind your stove if it extends higher.
Multiply width × height for each section to get square footage, then add all sections together. Subtract any large openings like windows. If you're working in centimeters or need to switch between metric and imperial, the Metric-Imperial Converter makes it easy to flip between measurement systems without errors.
Once you have your total square footage, add 10–15% for waste — cuts, breakage, and pattern matching. For a simple subway tile layout, 10% is usually enough. For diagonal or herringbone patterns, bump that to 15%. Use the Percentage Calculator to quickly figure out how many extra square feet to add to your order.
Step 2: Choose Your Tile (And Understand What You're Buying)
Tile comes in a dizzying range of materials, sizes, and formats. Here's a quick breakdown of the most popular options for kitchen backsplashes:
Ceramic subway tile: The classic choice. Affordable ($1–$4/sq ft), easy to cut, and widely available. Great for beginners.
Porcelain tile: Denser and more durable than ceramic, slightly harder to cut. Costs $3–$8/sq ft. Excellent for high-heat areas near the stove.
Glass tile: Stunning visual effect, but requires a white thinset and more careful cutting. Budget $7–$15/sq ft.
Peel-and-stick panels: The easiest option — no mortar, no grout, no special tools. Great for renters or first-timers. Quality varies widely, so read reviews carefully.
Mosaic sheets: Small tiles pre-mounted on mesh backing. Faster to install than individual tiles, and the mesh handles spacing automatically.
Tile is sold by the square foot or by the box. Check the box coverage before buying — a box labeled "10 sq ft" means that's what it covers, not the total tile area. If you need to convert between tile sizes listed in different units, the Unit Converter handles everything from inches to centimeters to millimeters.
Step 3: Gather Your Tools and Materials
You don't need a contractor's toolkit, but a few key items are non-negotiable:
Tile adhesive or thinset mortar — use premixed mastic for wall tile in dry areas; thinset for areas near the stove or sink
Notched trowel — the notch size depends on your tile size (check the bag for guidance)
Tile spacers — keeps grout lines consistent; 1/16" for subway tile, 1/8" for larger tiles
Tile cutter or wet saw — a manual snap cutter works for straight cuts on ceramic; a wet saw handles porcelain and curves
Level and chalk line — essential for keeping rows straight
Grout and grout float — unsanded grout for joints under 1/8", sanded for wider joints
Grout sealer — apply after grout cures to prevent staining
Step 4: Prep the Wall Surface
This is the step most DIYers rush — and it's the one that determines whether your tile stays put for 20 years or starts peeling in 2. The wall surface must be:
Clean: Degrease the wall thoroughly with a TSP substitute or kitchen degreaser. Cooking grease is invisible but will prevent adhesive from bonding.
Dry: Let the wall dry completely after cleaning — at least a few hours.
Smooth: Fill any holes or gouges with spackle and sand smooth. Tile will telegraph every bump underneath.
Primed (if painting was recent): Fresh paint can be slick. Lightly sand or apply a bonding primer if the paint is less than a month old.
Turn off the power to any outlets in the backsplash area and remove outlet covers. You'll tile around the boxes and reinstall the covers over the tile when you're done.
Step 5: Plan Your Layout Before You Commit
Dry-lay your tiles on the counter before applying any adhesive. Start from the center of the most visible wall section and work outward — this ensures any cut tiles end up at the edges where they're less noticeable. Use a level to draw a horizontal reference line at the height of your first full row of tile.
For subway tile in a classic brick pattern, offset each row by half a tile width. For mosaic sheets, the mesh backing handles the pattern for you — just align the sheets edge to edge. Mark your reference lines with a pencil or chalk line before you open the adhesive.
Step 6: Apply Adhesive and Set the Tile
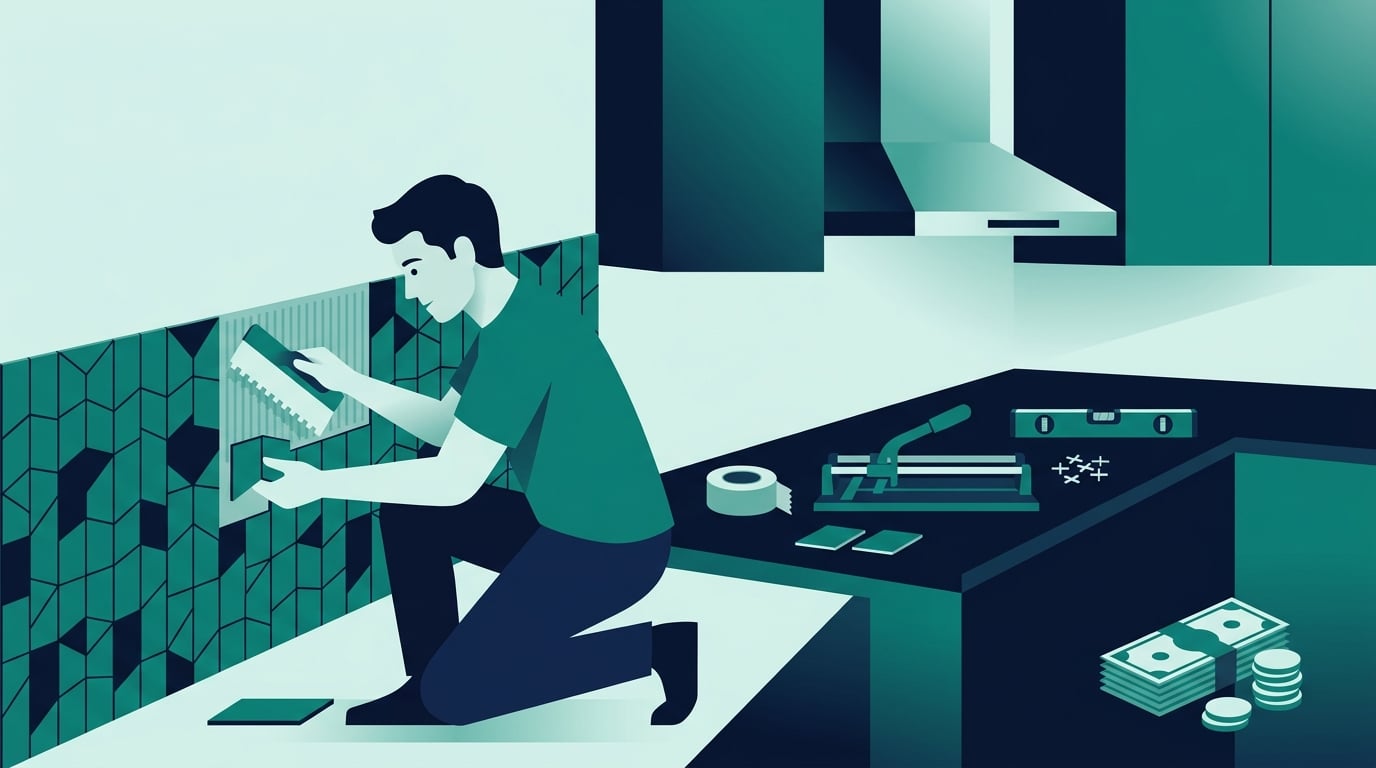
Spread adhesive in small sections — about 2–3 square feet at a time. Use the notched side of the trowel to comb the adhesive into ridges; this creates suction that holds the tile firmly. Press each tile firmly into place with a slight twisting motion, then check with your level frequently.
Insert spacers between tiles as you go. When you reach the edges, measure and mark your cut tiles, then score and snap (for ceramic) or use the wet saw (for porcelain or glass). Let the adhesive cure for the time specified on the package — usually 24 hours — before grouting.
Step 7: Grout, Seal, and Finish
Remove all spacers before grouting. Mix grout to a peanut butter consistency and apply it diagonally across the tile surface with a grout float, pressing it firmly into the joints. Work in small sections and wipe away excess grout with a damp sponge before it dries — this is the most time-sensitive part of the job.
Let the grout haze dry for 15–20 minutes, then buff the tile surface with a clean dry cloth. After the grout cures fully (typically 48–72 hours), apply a grout sealer to protect against staining. Reinstall your outlet covers, caulk the joint where the tile meets the countertop (never grout this joint — it needs to flex), and you're done.
What Does It Actually Cost?
For a typical kitchen backsplash of 20–30 square feet, here's a realistic DIY budget breakdown:
Tile: $30–$150 depending on material and style
Adhesive/thinset: $15–$25
Grout and sealer: $20–$35
Tools (if buying new): $40–$80 for trowel, float, spacers, and a manual tile cutter
Total DIY cost: roughly $100–$290. A contractor doing the same job would charge $500–$1,100 all-in. That's a savings of $400–$800 for a weekend's work — and you'll have the tools for your next project too.
The kitchen backsplash is one of those rare DIY projects where the skill ceiling is low, the payoff is high, and the result is something you'll see and appreciate every single day. Measure carefully, prep thoroughly, and take your time with the layout — the rest is just following the steps.
Before you act on this
This article is for general educational purposes only. Everyone’s situation is different, so before making any decisions please refer to a licensed contractor and check your local building codes and permit requirements who can advise you based on your specific circumstances.