How to Fix a Leaky Faucet: Save $200 or More With This Simple DIY Repair
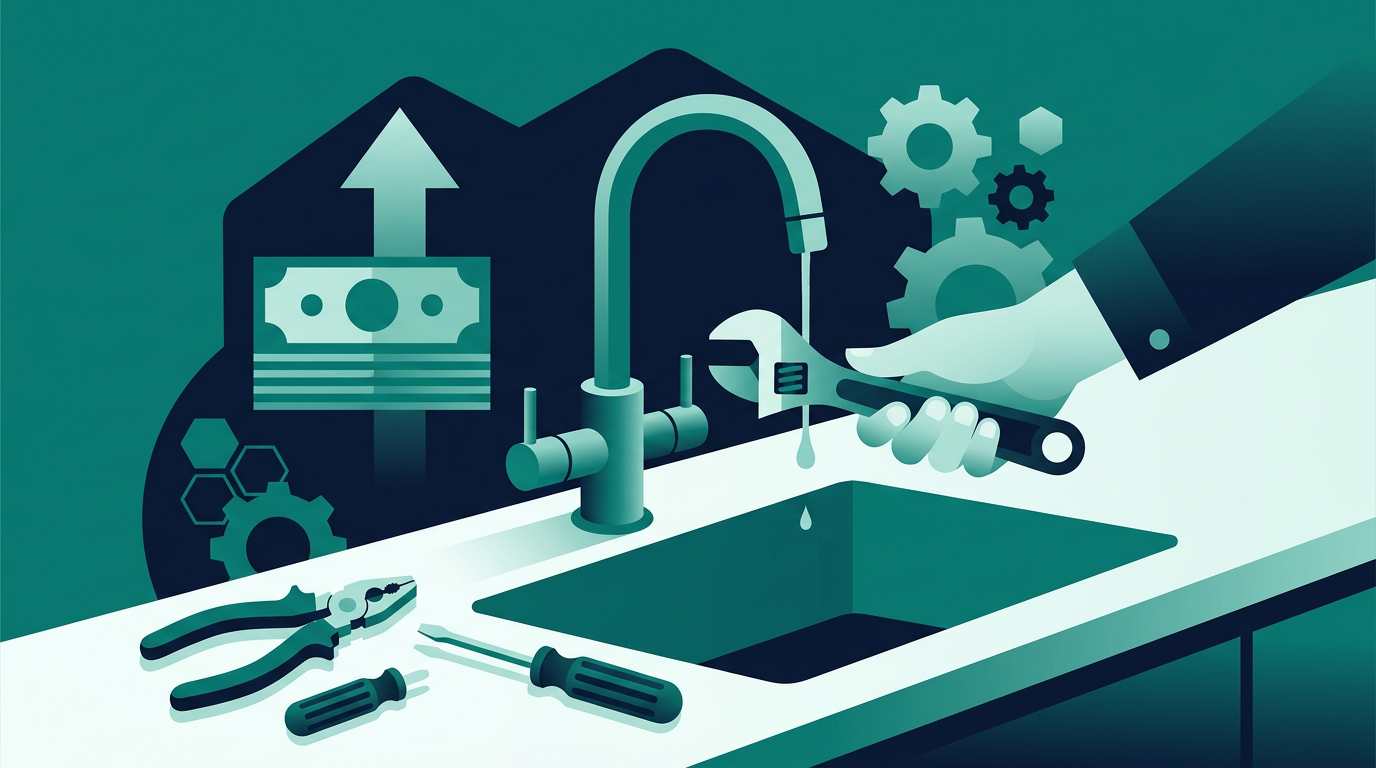
That slow, steady drip from your kitchen or bathroom faucet might seem like a minor annoyance, but it's quietly costing you money. A faucet that drips once per second wastes more than 3,000 gallons of water per year — enough to fill a small swimming pool. At average U.S. water rates, that's $20–$40 per year down the drain, and a faster drip can cost significantly more. The good news? Fixing a leaky faucet is one of the most beginner-friendly DIY repairs you can tackle, and most jobs take under an hour with basic tools you probably already own.
Why Faucets Leak (And Why It Matters)
Before you grab a wrench, it helps to understand what's actually causing the drip. Most faucet leaks come down to worn-out internal parts — washers, O-rings, cartridges, or ceramic discs — that no longer create a watertight seal. Over time, the constant friction of turning the handle on and off degrades these components. The type of faucet you have determines which part needs replacing:
Ball faucets (common in kitchens) use a rotating ball mechanism with springs and seats that wear out
Cartridge faucets (common in bathrooms) use a replaceable cartridge that controls water flow
Compression faucets (older two-handle style) use rubber washers that compress against a seat
Ceramic disc faucets (modern single-lever) use ceramic plates that rarely fail but can crack
Identifying your faucet type before buying parts saves you a wasted trip to the hardware store. Take a photo of your faucet and look up the brand and model — most manufacturers list replacement parts on their websites.
What You'll Need
The good news is that faucet repair doesn't require a plumber's toolkit. Here's what you'll need for most jobs:
Adjustable wrench or basin wrench
Phillips and flathead screwdrivers
Needle-nose pliers
Replacement parts (washers, O-rings, cartridge, or repair kit specific to your faucet)
Plumber's grease (silicone-based)
A towel and small bucket
Replacement parts typically cost $5–$25 depending on the faucet brand. Compare that to a plumber's service call, which averages $150–$300 for a simple faucet repair. That's a savings of 85–90% for about an hour of your time. Use our Percentage Calculator to see exactly how much you'd save versus hiring out — it adds up fast when you factor in multiple repairs over the years.
Step-by-Step: How to Fix a Leaky Faucet
Follow these steps regardless of your faucet type — the process is similar across all styles, with minor variations in the internal parts you'll replace.
Step 1: Shut off the water supply. Look under the sink for the shutoff valves — one for hot, one for cold. Turn them clockwise until they stop. Then turn on the faucet to release any remaining pressure and drain the lines. If there are no under-sink shutoffs, you'll need to turn off the main water supply to your home.
Step 2: Remove the handle. Most handles are held in place by a screw hidden under a decorative cap. Pry off the cap with a flathead screwdriver, remove the screw, and pull the handle straight up or toward you. Some handles require a slight wiggle — don't force it.
Step 3: Access the internal mechanism. Depending on your faucet type, you'll see a packing nut, cartridge, or ball assembly. Use your wrench to loosen the packing nut (turn counterclockwise), then pull out the stem or cartridge. Take a photo before disassembly — you'll thank yourself when it's time to put it back together.
Step 4: Inspect and replace worn parts. For compression faucets, look at the rubber washer at the bottom of the stem — if it's cracked, flattened, or misshapen, that's your culprit. For cartridge faucets, the entire cartridge usually gets replaced as a unit. For ball faucets, replace the springs, seats, and O-rings using a repair kit. Apply a thin coat of plumber's grease to all rubber parts before reassembly.
Step 5: Reassemble and test. Put everything back in reverse order. Hand-tighten first, then snug with a wrench — don't overtighten, which can crack the seat or damage new washers. Turn the water supply back on slowly, then test the faucet. If the drip is gone, you're done. If it persists, the seat itself may be damaged and need resurfacing or replacement.
Buying the Right Replacement Parts
The biggest mistake DIYers make is buying generic parts that don't quite fit. Always try to match the original manufacturer's parts. Bring the old cartridge or washer to the hardware store, or look up your faucet's model number (usually stamped on the body under the sink) and order the exact replacement online.
If you're shopping at a big-box store, most carry brand-specific repair kits for popular faucet brands like Moen, Delta, Kohler, and Price Pfister. These kits include everything you need — springs, seats, O-rings, and a cartridge — for $10–$20. When comparing kit prices across stores, our Discount Calculator can help you quickly figure out which deal actually saves you more, especially when stores run percentage-off promotions on plumbing supplies.
When to Call a Plumber Instead
DIY faucet repair is appropriate for most dripping faucets, but there are situations where calling a professional makes more sense:
The leak is coming from the base of the faucet or under the sink (could indicate a supply line or connection issue)
You see corrosion or mineral buildup so severe that parts won't budge
The faucet seat is damaged and needs resurfacing with a seat wrench (a specialized tool)
You've replaced the parts and the faucet still leaks — the faucet body itself may be cracked
You're dealing with a wall-mounted faucet or a shower valve inside the wall
In these cases, the cost of a plumber is justified. But for the vast majority of dripping faucets — the kind that keep you up at night — a DIY fix is well within reach.
Preventing Future Leaks
Once you've fixed the drip, a few habits can extend the life of your faucet significantly. Avoid cranking handles too hard — you only need enough force to stop the flow, and overtightening accelerates washer wear. If you have hard water, consider installing a water softener or using a descaling solution periodically to prevent mineral buildup that can damage cartridges and seats. And if a faucet starts dripping again within a year of repair, the seat may need resurfacing — a job that's still DIY-able with the right tool.
One more tip: keep a record of the parts you used. Note the brand, model, and part numbers in a home maintenance log. When the same faucet needs attention again in a few years, you'll know exactly what to buy without the guesswork. If you're tracking repair costs across multiple projects, our Unit Converter can help you work through measurements and material quantities for any home project — from faucet supply line lengths to pipe diameters in different measurement systems.
The Bottom Line
Fixing a leaky faucet is one of the highest-return DIY repairs you can make. You'll spend $10–$25 on parts, invest an hour of your time, and save $150–$300 in plumber fees — while also cutting your water bill and eliminating that maddening drip. The skills you build carry over to other plumbing repairs, making each subsequent job faster and easier. Start with a simple compression or cartridge faucet, follow the steps above, and you'll wonder why you ever called a plumber for this in the first place.
Before you act on this
This article is for general educational purposes only. Everyone’s situation is different, so before making any decisions please refer to a licensed contractor and check your local building codes and permit requirements who can advise you based on your specific circumstances.