How to Install Recessed Lighting Yourself (And Save $600 or More in Electrician Costs)
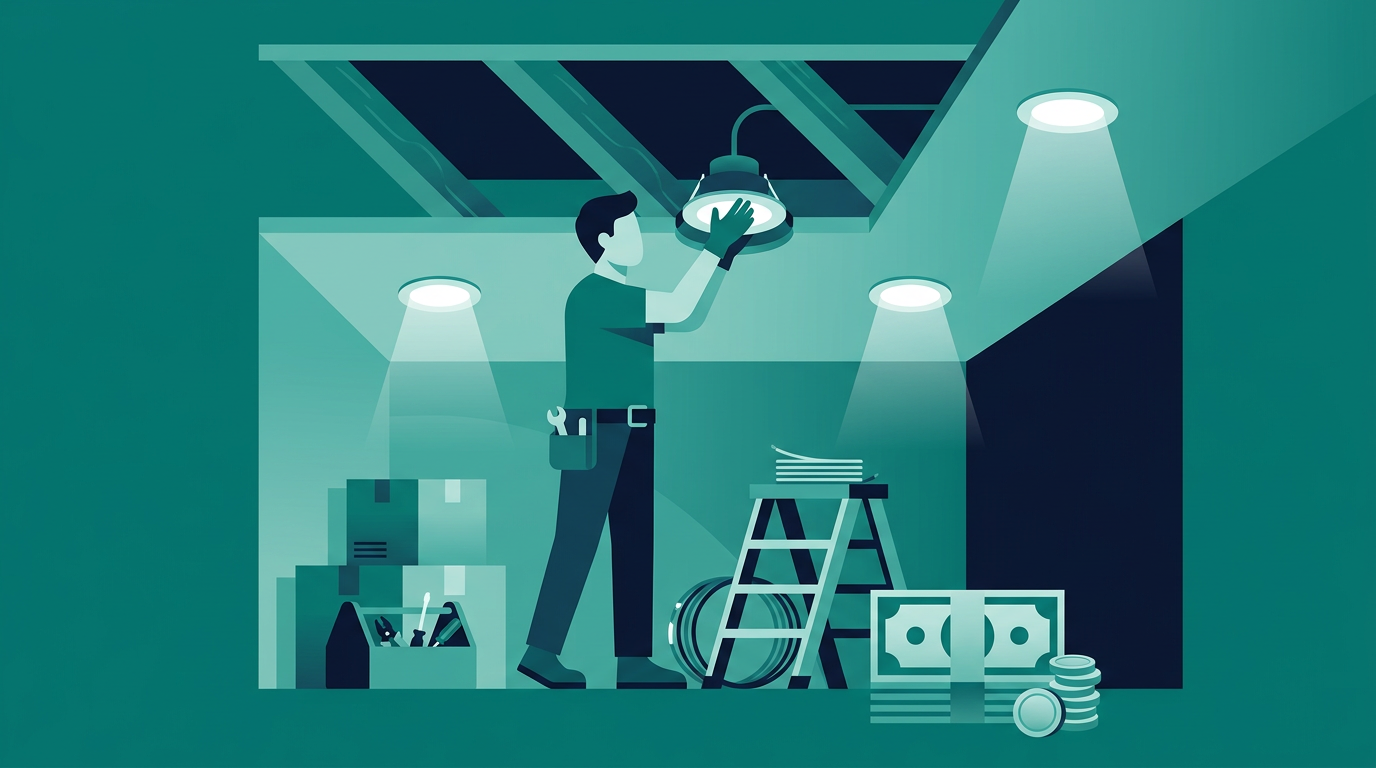
Recessed lighting can completely transform a room — turning a dim, dated space into something that feels open, modern, and professionally designed. The problem? Most homeowners assume it's a job for an electrician and budget $800 to $2,000 for the work. The reality is that installing recessed lights in an existing room is a manageable DIY project that most handy homeowners can tackle in a weekend, saving hundreds in labor costs.
This guide walks you through everything: planning your layout, choosing the right fixtures, running wire safely, and finishing the job so it looks like a pro did it. Before you start, check your local building codes — some jurisdictions require a permit for electrical work, and it's always worth a quick call to your municipality to confirm.
What You'll Need (And What It Costs)
The materials for a basic recessed lighting project are straightforward. For a typical living room or kitchen with 6 lights, expect to spend $150–$350 on materials — a fraction of what an electrician would charge just for labor. Here's what you'll need:
Remodel recessed light cans (IC-rated if insulation is present) — $15–$30 each
LED retrofit trim kits or integrated LED fixtures — $10–$25 each
14/2 or 12/2 NM-B electrical cable (match your circuit's breaker amperage)
Wire connectors (wire nuts or push-in connectors)
A hole saw (typically 4" or 6" depending on your fixture)
Fish tape or a glow rod for running wire through walls and ceilings
A non-contact voltage tester — non-negotiable for safety
Use our Unit Converter to convert ceiling measurements between feet and inches when planning your layout — especially useful when your fixture specs are listed in metric and your tape measure is imperial.
Step 1: Plan Your Layout Before You Cut Anything
The most common DIY mistake with recessed lighting is cutting holes without a plan. Once you've cut into drywall, you're committed. Spend 20 minutes planning and you'll avoid expensive patch jobs.
A good rule of thumb: space recessed lights roughly 4 feet apart and 2 feet from walls. For an 8-foot ceiling, this creates even, overlapping light coverage without harsh shadows. In a 12×14 foot living room, you'd typically use 6 lights arranged in two rows of three.
Before marking anything, use a stud finder to locate joists — you'll need to route wire around them, and you can't cut a hole where a joist runs. Mark joist locations with painter's tape so you can see the "safe zones" at a glance.
Also check what's above the ceiling. If you have an attic above, the job is significantly easier — you can run wire from above without fishing through walls. If you have a finished floor above, you'll be fishing wire through the ceiling cavity, which takes more patience but is still very doable.
Step 2: Choose the Right Fixtures
Not all recessed lights are created equal, and choosing the wrong type is a costly mistake. Here's what matters:
IC vs. Non-IC rated: If your ceiling has insulation above it (most do), you must use IC-rated (Insulation Contact) fixtures. Non-IC fixtures can overheat and become a fire hazard when covered by insulation.
Remodel vs. New Construction: For existing ceilings, always use "remodel" cans — they clip into the drywall from below without needing access from above.
Size: 4-inch fixtures work well for accent lighting and smaller rooms; 6-inch is the standard for general room lighting.
Color temperature: 2700K–3000K gives warm, living-room-friendly light. 4000K–5000K is better for kitchens and workspaces where you want crisp, bright light.
Integrated LED fixtures (where the LED is built into the trim) are the best value long-term — they last 25,000+ hours and eliminate the need to ever replace bulbs. They cost slightly more upfront but pay for themselves quickly. Use our Percentage Calculator to compare the long-term savings between integrated LED fixtures and traditional incandescent setups — the energy savings alone often justify the higher upfront cost within a year or two.
Step 3: Cut the Holes and Run the Wire
With your layout marked and fixtures chosen, it's time to cut. Use the template that comes with your fixture (or trace the fixture housing itself) to mark each hole. Double-check that you're not cutting over a joist by probing with a thin nail first.
Cut slowly with a drywall saw or hole saw — drywall dust goes everywhere, so lay down a drop cloth and wear a dust mask. Once holes are cut, use a flashlight to look inside and confirm there are no hidden obstructions like old wiring or plumbing.
Running wire is the most time-consuming part. The basic approach:
Start at your power source — typically an existing switch box or junction box on the same circuit
Run wire from the switch to the first light, then daisy-chain from light to light
Use a fish tape or glow rod to push wire through the ceiling cavity between holes
Leave 6–8 inches of wire hanging out of each hole for making connections
Safety first: Turn off the circuit at the breaker before touching any existing wiring. Use your non-contact voltage tester to confirm the power is off — test it on a known live outlet first to make sure the tester itself is working.
Step 4: Make the Connections and Install the Fixtures
Wiring recessed lights follows a simple pattern: black to black (hot), white to white (neutral), and bare copper to bare copper or green (ground). Most remodel cans have a built-in junction box with a connector — you simply push the wire through the connector, strip the ends, and make your connections inside the can.
Once connections are made, push the can up into the hole and engage the mounting clips — they spring outward and grip the drywall from inside. You'll hear a satisfying click when they're locked in. Attach the trim or LED module according to your fixture's instructions, and you're done with that light.
Repeat for each fixture, then restore power at the breaker and test. If a light doesn't work, the most common culprits are a loose wire connection or a tripped GFCI outlet upstream on the circuit.
What Does This Project Actually Save You?
Electricians typically charge $100–$200 per recessed light installed, including labor and materials. For a 6-light project, that's $600–$1,200 in professional installation costs. DIY materials for the same job run $150–$350, meaning you're looking at savings of $450–$850 or more.
If you're shopping for fixtures and see a "sale" price, use our Discount Calculator to quickly verify you're actually getting a deal — sometimes "30% off" is off an inflated MSRP, and the real savings are smaller than advertised.
Beyond the immediate savings, recessed LED lighting typically reduces lighting energy costs by 60–80% compared to older incandescent fixtures. In a room you use daily, that adds up to real money over the life of the fixtures.
Common Mistakes to Avoid
Overloading a circuit: Each 15-amp circuit can handle about 1,440 watts safely. LED recessed lights typically use 8–15 watts each, so you can add many lights without worry — but always calculate your total load before tapping into an existing circuit.
Skipping the permit: Some areas require permits for electrical work. A permit means an inspector checks your work — which is actually a good thing for safety and for your home's resale value.
Using the wrong wire gauge: 15-amp circuits use 14-gauge wire; 20-amp circuits use 12-gauge. Using undersized wire is a fire hazard. Match the wire to the breaker, not the other way around.
Placing lights too close to walls: Lights within 18 inches of a wall create an unflattering "scallop" effect on the wall surface. Keep them at least 2 feet from walls unless you're intentionally using wall-wash lighting.
The Bottom Line
Installing recessed lighting is one of the highest-impact, most satisfying DIY projects you can tackle. The transformation is dramatic — rooms feel larger, brighter, and more intentionally designed. And with remodel-style cans, you don't need attic access or major demolition to make it happen.
Take your time with the planning phase, respect the electrical safety basics, and you'll have a finished product that looks like it cost twice what you paid. The skills you build on this project — running wire, making connections, working with drywall — carry over to dozens of other home improvement jobs down the road.
Before you act on this
This article is for general educational purposes only. Everyone’s situation is different, so before making any decisions please refer to a licensed contractor and check your local building codes and permit requirements who can advise you based on your specific circumstances.