How to Install Hardwood Flooring Yourself (And Save $2,000 or More in Labor Costs)
Installing hardwood flooring yourself is one of the most rewarding home improvement projects you can tackle. Done right, it can save you $3 to $8 per square foot in labor costs — that's $1,500 to $4,000 on a typical 500-square-foot room. But the difference between a floor that looks like it belongs in a magazine and one that buckles, gaps, or squeaks often comes down to one thing: the math you do before you ever open a box of planks.
This guide walks you through every calculation you need, the tools required, and the step-by-step installation process so you can approach this project with confidence — not guesswork.
Step 1: Calculate Your Square Footage (With the Right Waste Factor)
Start by measuring the length and width of each room in feet, then multiply to get the square footage. For an L-shaped or irregular room, break it into rectangles, calculate each section separately, and add them together. Use our Unit Converter if your measurements are in inches or centimeters — converting everything to feet first makes the math much cleaner.
Once you have your base square footage, you need to add a waste factor. This accounts for cuts at walls, doorways, and any boards you'll need to discard due to defects. Here's the standard rule:
Straight lay (parallel to walls): Add 7–10% waste
Diagonal lay (45-degree angle): Add 15% waste
Herringbone or chevron pattern: Add 20–25% waste
For example: a 400-square-foot room with a straight lay needs 400 × 1.10 = 440 square feet of flooring. Always round up to the nearest full box, since most hardwood comes in boxes covering 20–25 square feet. Buying short means a second trip to the store — and potentially a different dye lot that won't match.
Step 2: Understand Your Flooring Options and True Costs
Hardwood flooring comes in two main types: solid hardwood (¾-inch thick, can be sanded and refinished multiple times) and engineered hardwood (a real wood veneer over plywood, more stable in humid environments). Solid hardwood typically runs $5–$12 per square foot for materials; engineered hardwood runs $4–$10. Factor in underlayment ($0.25–$0.50/sq ft), adhesive or nails, and finishing supplies.
To figure out what percentage of your total project budget goes to materials versus labor savings, use the Percentage Calculator. If materials cost $2,200 and the total professional quote was $5,500, you're saving 60% by doing it yourself — a compelling number that makes the weekend work worthwhile.
Step 3: Acclimate the Wood (This Step Is Non-Negotiable)
Wood expands and contracts with changes in humidity. If you install planks straight from the delivery truck, you're setting yourself up for gaps in winter and buckling in summer. Stack the unopened boxes in the room where they'll be installed for at least 48–72 hours (some manufacturers recommend up to 5 days). The room should be at its normal living temperature and humidity — typically 60–80°F and 35–55% relative humidity.
This step costs you nothing but time, and skipping it is the single most common reason DIY hardwood floors fail within the first year.
Step 4: Prepare the Subfloor
A hardwood floor is only as good as what's underneath it. Your subfloor must be:
Clean: Sweep, vacuum, and remove any old adhesive, staples, or nails.
Dry: Use a moisture meter. Concrete subfloors should read below 3% moisture content; wood subfloors below 12%.
Flat: Check with a long straightedge. Any dip or hump greater than 3/16 inch over 10 feet needs to be leveled with floor leveling compound or sanded down.
Structurally sound: Walk the entire subfloor and mark any squeaky or soft spots. Screw them down before you start.
Step 5: Plan Your Layout
The direction you run the planks matters both aesthetically and structurally. The standard rule is to run boards perpendicular to the floor joists for maximum strength, and parallel to the longest wall for the best visual effect. In most rooms, these two goals align naturally.
Before nailing anything down, do a dry layout. Snap a chalk line down the center of the room and work outward from there. Check that the first and last rows won't be slivers — if the math works out to less than half a plank width at either wall, shift your starting line by half a plank. This small adjustment makes the finished floor look intentional and professional.
If you're working with metric measurements from a European flooring brand, the Metric-Imperial Converter will save you from costly conversion errors when calculating plank widths and room dimensions together.
Step 6: Install the Flooring
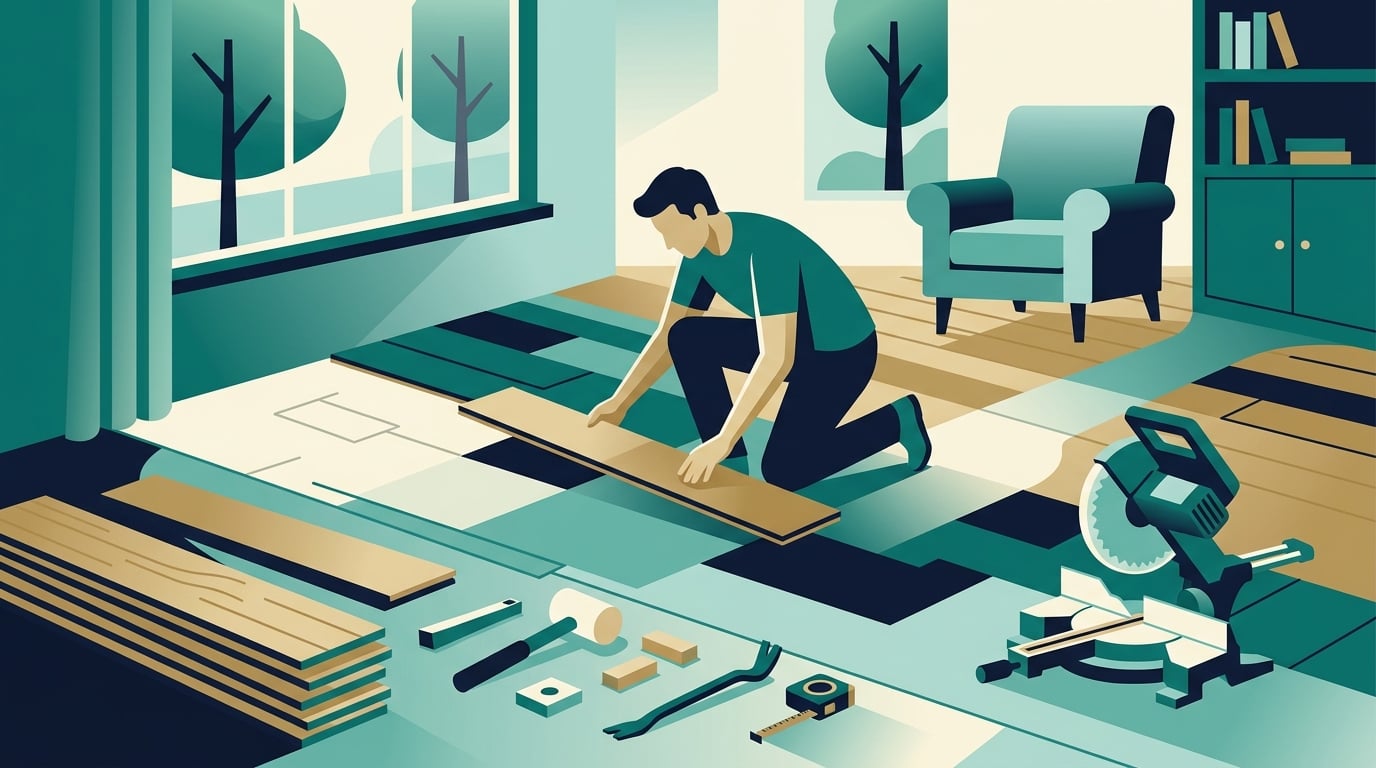
The three main installation methods are nail-down (for solid hardwood over wood subfloors), glue-down (for engineered hardwood over concrete), and floating (click-lock engineered hardwood that snaps together without fasteners). For most first-time DIYers, floating installation is the most forgiving and requires the fewest specialized tools.
Regardless of method, follow these universal rules:
Leave a ¼-inch expansion gap around all walls, door frames, and fixed objects. This gap will be covered by baseboards or quarter-round molding.
Stagger end joints by at least 6 inches between adjacent rows. Random staggering looks more natural than a repeating pattern.
Mix planks from multiple boxes as you work to blend any color variation across the floor.
Use a pull bar and tapping block (not a hammer directly on the plank) to seat boards tightly without damaging the tongue-and-groove edges.
Step 7: Finish Strong — Trim, Transitions, and Touch-Ups
The last 10% of the job is what people actually see. Install baseboards or reattach existing ones to cover the expansion gap. Use T-molding at doorways where the hardwood meets another flooring type, and reducer strips where it meets a lower-height floor like tile. Fill any nail holes with color-matched wood filler, let it dry, and sand flush.
For unfinished hardwood, you'll also need to sand the entire floor with a drum sander (rentable from most home improvement stores for $60–$80/day), apply stain if desired, and finish with two to three coats of polyurethane. Allow 24 hours between coats and 72 hours before moving furniture back in.
What You'll Actually Save
On a 500-square-foot project, professional installation typically adds $1,500–$4,000 to the total cost. A DIY install requires renting a flooring nailer ($40–$60/day) or using a floating method with no special tools at all. The weekend investment is real — plan for two full days — but the savings are equally real, and you'll have a skill you can use again and again in your own home.
The key is doing the math upfront, buying the right amount of material, and not rushing the prep work. Get those three things right, and the installation itself is surprisingly straightforward.
Before you act on this
This article is for general educational purposes only. Everyone’s situation is different, so before making any decisions please refer to a licensed contractor and check your local building codes and permit requirements who can advise you based on your specific circumstances.