How to Patch and Repair Drywall Like a Pro (And Save $200–$500 in Contractor Costs)
There's a hole in your drywall. Maybe it's from a doorknob that swung too hard, a picture hook that went wrong, or a plumbing repair that left a gaping opening. Whatever the cause, your first instinct might be to call a contractor — but that call could cost you $200 to $500 for a job you can absolutely do yourself in an afternoon. Drywall repair is one of the most learnable DIY skills out there, and once you've done it once, you'll never pay someone else to do it again.
This guide walks you through every type of drywall repair — from tiny nail holes to fist-sized damage — with the exact materials, techniques, and finishing steps that make the patch invisible. No experience required.
Why Drywall Repair Is the Perfect First DIY Project
Drywall is forgiving. Unlike tile or hardwood, mistakes are fixable with another coat of joint compound. The materials are cheap — a basic repair kit costs $15 to $30 at any hardware store — and the tools are minimal. Most importantly, the skill scales: once you understand how joint compound behaves, you can tackle everything from a pinhole to a 12-inch section replacement using the same core principles.
Contractors charge $200 to $500 for drywall repairs not because the work is hard, but because of their overhead, travel time, and minimum job fees. Your actual material cost for most repairs is under $30. That's a significant savings worth capturing.
Matching the Repair Method to the Damage Size
Not all drywall damage is the same, and using the wrong method wastes time and materials. Here's how to categorize what you're dealing with:
Nail holes and small dents (under ½ inch): Spackle or lightweight joint compound applied with a putty knife. One coat, sand when dry, paint. Done in 30 minutes.
Medium holes (½ inch to 4 inches): Self-adhesive mesh patch or a California patch (using the drywall's paper backing as a built-in anchor). Two to three coats of joint compound required.
Large holes (4 inches to 12 inches): California patch or a backing board method where you screw a piece of wood behind the opening to give the new drywall piece something to attach to.
Very large damage (over 12 inches): Cut back to the nearest studs and replace the entire section. This is still DIY-able but requires a drywall saw and more finishing work.
The Materials You'll Need (And What They Actually Cost)
Before you start, gather your supplies. For most repairs, you'll need:
Joint compound (all-purpose or lightweight): $8–$12 for a small tub. Lightweight dries faster and sands more easily — worth the slight premium.
Self-adhesive mesh patch (for medium holes): $5–$8 for a pack of several sizes.
Putty knife or drywall knife (4-inch and 6-inch): $6–$15. A wider knife gives you a smoother feathered edge.
Sandpaper (120-grit and 220-grit): $4–$6. Use 120 to knock down high spots, 220 for the final smooth pass.
Primer: $8–$15 for a small can. Never skip this — joint compound is porous and will show through paint without primer.
Matching paint: Check if you have leftover paint from the original wall color. If not, take a chip to the hardware store for a color match.
When you're buying materials, use the Discount Calculator to compare sale prices at different stores — hardware stores frequently run 10–20% off on repair supplies, and knowing the actual savings helps you decide if it's worth the extra trip.
Step-by-Step: Repairing a Medium Hole (The Most Common Repair)
Let's walk through a 2-inch hole repair using the self-adhesive mesh patch method — the most common scenario for doorknob damage or failed anchor bolts.
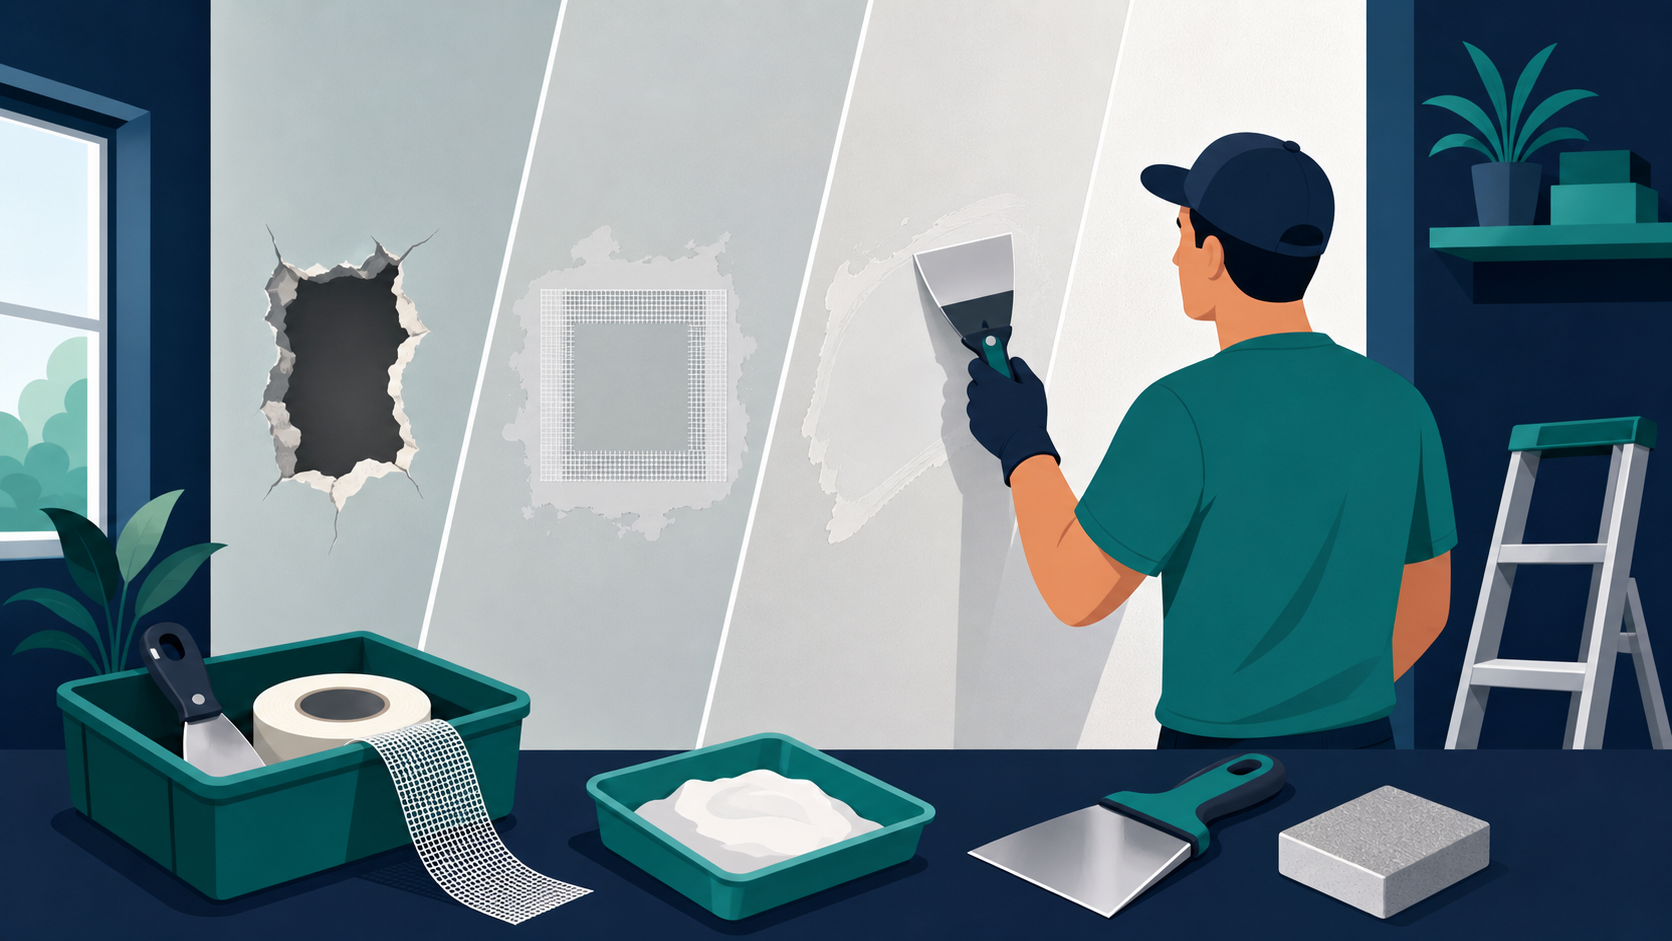
Step 1: Clean the edges. Remove any loose paper or crumbling drywall around the hole. The edges should be firm. If the paper is torn and lifting, press it flat or trim it with a utility knife.
Step 2: Apply the mesh patch. Peel and stick the self-adhesive mesh patch over the hole, centered. The mesh gives the joint compound something to grip.
Step 3: First coat of joint compound. Using your 4-inch putty knife, apply joint compound over the mesh, pressing it into the holes of the mesh and spreading it about 2 inches beyond the patch edges. Don't try to make it perfect — this coat is just about filling. Let it dry completely (usually 4–6 hours, or overnight).
Step 4: Sand lightly and apply second coat. Once dry, sand with 120-grit to knock down any ridges. Apply a second, thinner coat with your 6-inch knife, feathering the edges out 4–6 inches from the patch. This wider spread is what makes the repair invisible — it blends the patch into the surrounding wall.
Step 5: Third coat (if needed) and final sand. Most repairs need three coats. The third coat should be very thin — almost translucent. Once dry, sand with 220-grit until the surface feels smooth and flush with the surrounding wall. Run your hand across it; you shouldn't feel any ridge.
Step 6: Prime and paint. Apply a coat of primer over the repair and let it dry. Then paint to match. If your wall has texture, you'll need to replicate it before painting (see the texture section below).
The Secret to an Invisible Repair: Feathering
The single biggest mistake DIYers make is applying joint compound in a thick, defined blob. The result is a visible bump or ridge that shows through paint. The fix is feathering: each successive coat should extend further out from the repair and taper to almost nothing at the edges.
Think of it like blending foundation makeup — you're not covering a spot, you're gradually transitioning from the repair to the surrounding surface. A 2-inch hole should have joint compound spread over a 10–12 inch area by the final coat. That wide, thin taper is what makes the repair disappear.
Matching Wall Texture: The Step Most People Skip
Smooth walls are easy — sand, prime, paint. But most homes have textured walls (orange peel, knockdown, or skip trowel), and a smooth patch on a textured wall is immediately obvious. Here's how to match the most common textures:
Orange peel: Use a spray can of orange peel texture ($8–$12). Practice on cardboard first to dial in the distance and pressure. Apply in light passes from about 18 inches away.
Knockdown: Apply thinned joint compound with a roller, then lightly flatten the peaks with a drywall knife before it fully dries. The timing takes practice — do a test patch on cardboard.
Skip trowel: Apply small, random patches of joint compound with a trowel, leaving gaps. This is the most forgiving texture to match because the randomness hides imperfections.
When calculating how much texture spray or compound you need for a larger repair area, the Unit Converter can help you convert between square feet and square meters if you're working from product instructions that use metric measurements — common with imported products.
Calculating Your Material Savings
Let's put real numbers to this. A typical contractor quote for a 4-inch drywall repair in a single room runs $200–$350, including a minimum service fee. Your DIY cost for the same repair:
Joint compound tub: $10
Mesh patch kit: $7
Sandpaper: $5
Primer (small can): $10
Total: ~$32
That's a savings of $168 to $318 on a single repair. Use the Percentage Calculator to see exactly what percentage of the contractor cost you're saving — it's typically 85–90%. If you have multiple repairs in the same room (common after a renovation or move-out), the savings multiply while your material costs barely increase, since you'll use the same tub of compound for all of them.
Common Mistakes and How to Avoid Them
Rushing the drying time: Joint compound must be fully dry before sanding or applying the next coat. Wet compound under a dry surface will crack. When in doubt, wait another hour.
Skipping primer: Joint compound is extremely porous. Paint applied directly over it will look flat and dull compared to the surrounding wall — a dead giveaway of a repair. Always prime.
Using too much compound at once: Thick coats crack as they dry. Thin coats are always better. Three thin coats beat one thick coat every time.
Not feathering wide enough: If your repair is still visible after painting, the edges weren't feathered far enough. Sand back and add another thin coat extending further out.
Forgetting to match sheen: Even a perfect color match will look wrong if you use flat paint on a semi-gloss wall. Match both the color and the finish.
When to Call a Pro
DIY drywall repair makes sense for most damage, but there are situations where a professional is the right call: water damage with mold present (requires remediation before repair), structural damage where studs are compromised, or very large sections in high-visibility areas like a formal dining room where a seamless finish is critical. For everything else — and that covers 90% of typical home drywall damage — this is a job you can handle yourself, save hundreds of dollars, and feel genuinely proud of when it's done.
The first repair is always the hardest. By the third one, you'll be doing it on autopilot — and you'll have a skill that pays for itself every time something goes wrong with a wall in your home.