How to Install a Smart Thermostat Yourself (And Save $150 in Labor Costs)
Your heating and cooling system accounts for nearly half of your home's energy bill. A programmable or smart thermostat can trim that number by 10–15% — but the real savings come when you install it yourself instead of paying an HVAC technician $75–$150 for a job that takes under an hour. The good news: replacing a thermostat is one of the most beginner-friendly electrical projects in any home. No special tools, no permits, and no prior experience required.
What You'll Need Before You Start
Gather these items before touching a single wire:
Your new thermostat (with its included wiring guide)
A flathead and Phillips screwdriver
A pencil and painter's tape for labeling wires
Your smartphone (to photograph the existing wiring before disconnecting anything)
A voltage tester (optional but recommended — under $15 at any hardware store)
One thing to check before buying: does your system have a C-wire (common wire)? Most smart thermostats require one for continuous power. Look at your current thermostat's wiring — if you see a wire connected to a terminal labeled "C," you're set. If not, many modern smart thermostats include an adapter kit, or you can use the G-wire workaround described in your device's manual.
Step 1: Turn Off the Power
Go to your electrical panel and flip the breaker for your HVAC system. This is non-negotiable — thermostat wires carry low voltage (typically 24V), but the furnace or air handler they connect to does not. Once the breaker is off, remove the thermostat's faceplate by pulling it straight off or unscrewing it, depending on the model.
Before touching any wires, use your voltage tester to confirm the power is truly off. Then take a clear photo of the wiring with your phone. This photo is your insurance policy — if anything gets confusing later, you can refer back to exactly how things were connected.
Step 2: Label and Disconnect the Wires
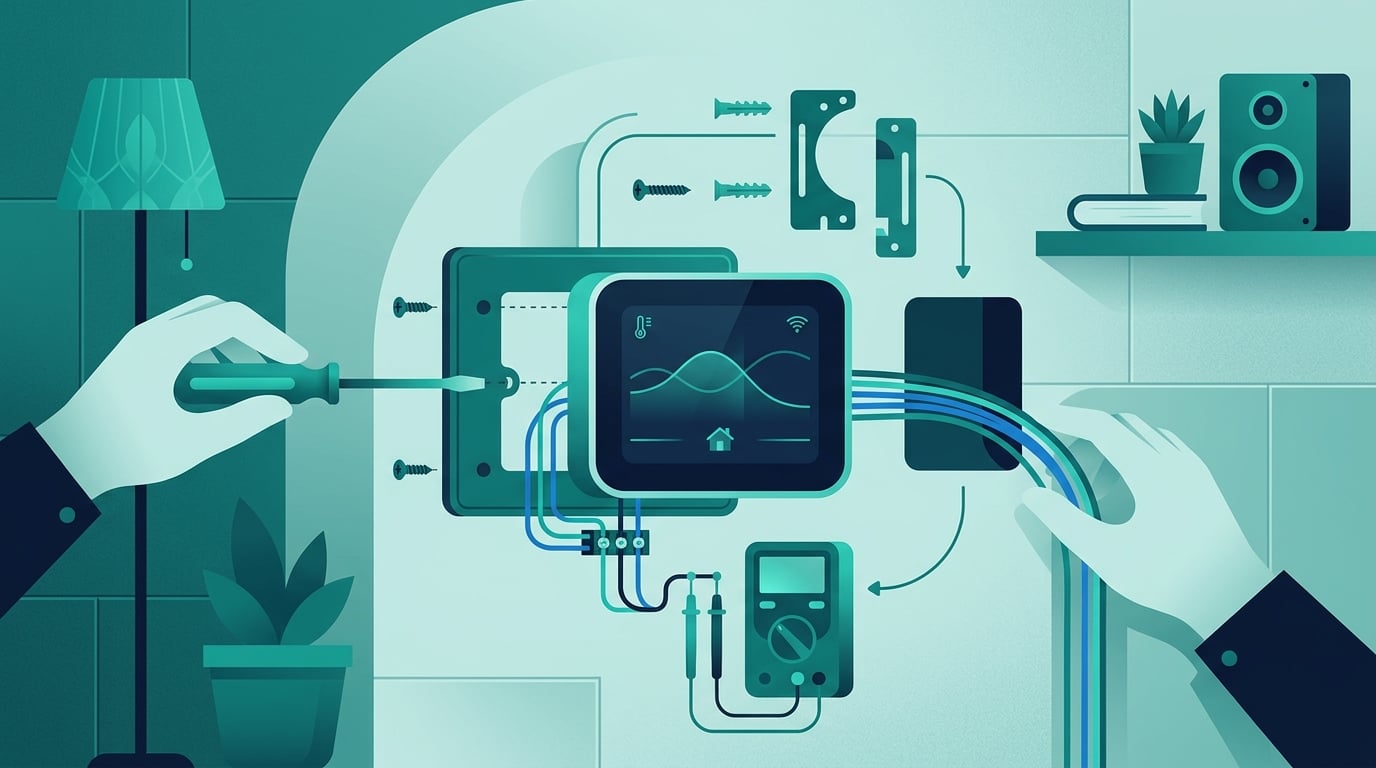
Each wire connects to a labeled terminal on your old thermostat — common ones include R (power), G (fan), Y (cooling), W (heating), and C (common). Tear off small pieces of painter's tape, write the terminal letter on each piece, and wrap it around the corresponding wire before you disconnect it. This prevents any mix-up when connecting to the new unit.
Loosen the terminal screws and gently pull each wire free. Be careful not to let the wires fall back into the wall — if they're short, wrap them around a pencil laid horizontally across the wall opening to keep them accessible.
Step 3: Remove the Old Base and Mount the New One
Unscrew the old thermostat's wall plate and set it aside. Most new thermostats come with a fresh wall plate that you'll mount in its place. Use the included level (or a phone app) to make sure it's straight — a crooked thermostat is a small annoyance you'll notice every day.
Thread your labeled wires through the center opening of the new base plate, then screw it into the wall. If the old screw holes don't line up, use the included anchors and drill new pilot holes. Most plates are forgiving enough to cover any minor wall damage from the old unit.
Step 4: Connect the Wires to the New Thermostat
This is the step most people dread, but your labeled wires and that photo make it straightforward. Match each wire to its corresponding terminal on the new thermostat — R to R, G to G, Y to Y, W to W, and C to C. Push each wire into its terminal and tighten the screw until snug (not overtightened — you don't want to nick the wire).
If your new thermostat uses a different terminal labeling system (some use Rh and Rc instead of a single R), consult the included wiring diagram. Most manufacturers also offer online compatibility checkers where you enter your wire colors and get a custom wiring map.
When estimating wire lengths or checking if your existing wiring gauge is compatible, the Unit Converter can help you quickly convert between millimeters and inches if you're working with a mix of metric and imperial specs on imported equipment.
Step 5: Snap On the Faceplate and Restore Power
Once all wires are connected, snap or screw the thermostat's display unit onto the base plate. Head back to the electrical panel and flip the HVAC breaker back on. Your new thermostat should power up immediately — if it doesn't, double-check that the C-wire is properly connected and that the breaker is fully engaged.
Run a quick test: set the thermostat to heat mode and raise the temperature above the current room temperature. You should hear the furnace kick on within a minute or two. Then switch to cool mode and lower the set point — the air conditioner should engage. If both work, you're done.
Programming Your Thermostat for Maximum Savings
Installing the thermostat is only half the battle. The real energy savings come from programming it intelligently. A good starting schedule for most households:
Weekday mornings (6–8 AM): Comfortable temperature while the household wakes up
Daytime (8 AM–5 PM): Set back 7–10°F from your comfort level — no one's home
Evening (5–10 PM): Return to comfortable temperature
Overnight (10 PM–6 AM): Set back again — most people sleep comfortably at cooler temperatures
According to the U.S. Department of Energy, setting your thermostat back 7–10°F for 8 hours a day can save up to 10% per year on heating and cooling. On a $2,400 annual energy bill, that's $240 back in your pocket — every year, automatically.
Want to know exactly what percentage of your energy bill you could save with different setback temperatures? Use the Percentage Calculator to run the numbers on your own utility costs and see the real dollar impact before you commit to a schedule.
Smart Thermostat vs. Programmable: Which Should You Buy?
Programmable thermostats ($25–$60) let you set fixed schedules. Smart thermostats ($100–$250) learn your habits, adjust automatically, and can be controlled from your phone. The installation process is identical for both — the difference is in the features and price.
For most households, a mid-range smart thermostat pays for itself within 1–2 years through energy savings. If your schedule is highly variable or you travel frequently, the remote control and geofencing features (which automatically adjust temperature when you leave or return home) add real value. If your schedule is consistent and predictable, a basic programmable model does the job just as well at a fraction of the cost.
If you're shopping across different brands and comparing specs listed in both metric and imperial units, the Metric-Imperial Converter makes it easy to compare temperature ranges, wire gauge specs, and mounting dimensions without doing the math in your head.
Common Mistakes to Avoid
Skipping the power shutoff: Even low-voltage wires can cause a short that damages your HVAC control board — an expensive repair.
Not photographing the old wiring: One wrong connection can prevent your system from working. The photo takes five seconds and saves hours of troubleshooting.
Buying an incompatible thermostat: High-voltage systems (electric baseboard heaters, for example) require a different type of thermostat than standard 24V HVAC systems. Check your system type before purchasing.
Ignoring the C-wire requirement: Installing a smart thermostat without a C-wire (and without the proper adapter) leads to battery drain, erratic behavior, or a system that won't power on at all.
Over-tightening terminal screws: This can nick or break the wire, causing an intermittent connection that's frustrating to diagnose.
The Bottom Line
Installing a thermostat yourself is one of the highest-return DIY projects you can tackle. The job takes 30–60 minutes, requires no special skills, and the savings compound year after year. Between the labor cost you avoid upfront and the ongoing energy savings from smart scheduling, a $150 smart thermostat can easily deliver $500 or more in total value over its lifetime. That's a return most investments would envy — and you did it yourself on a Saturday morning.
Before you act on this
This article is for general educational purposes only. Everyone’s situation is different, so before making any decisions please refer to a licensed contractor and check your local building codes and permit requirements who can advise you based on your specific circumstances.