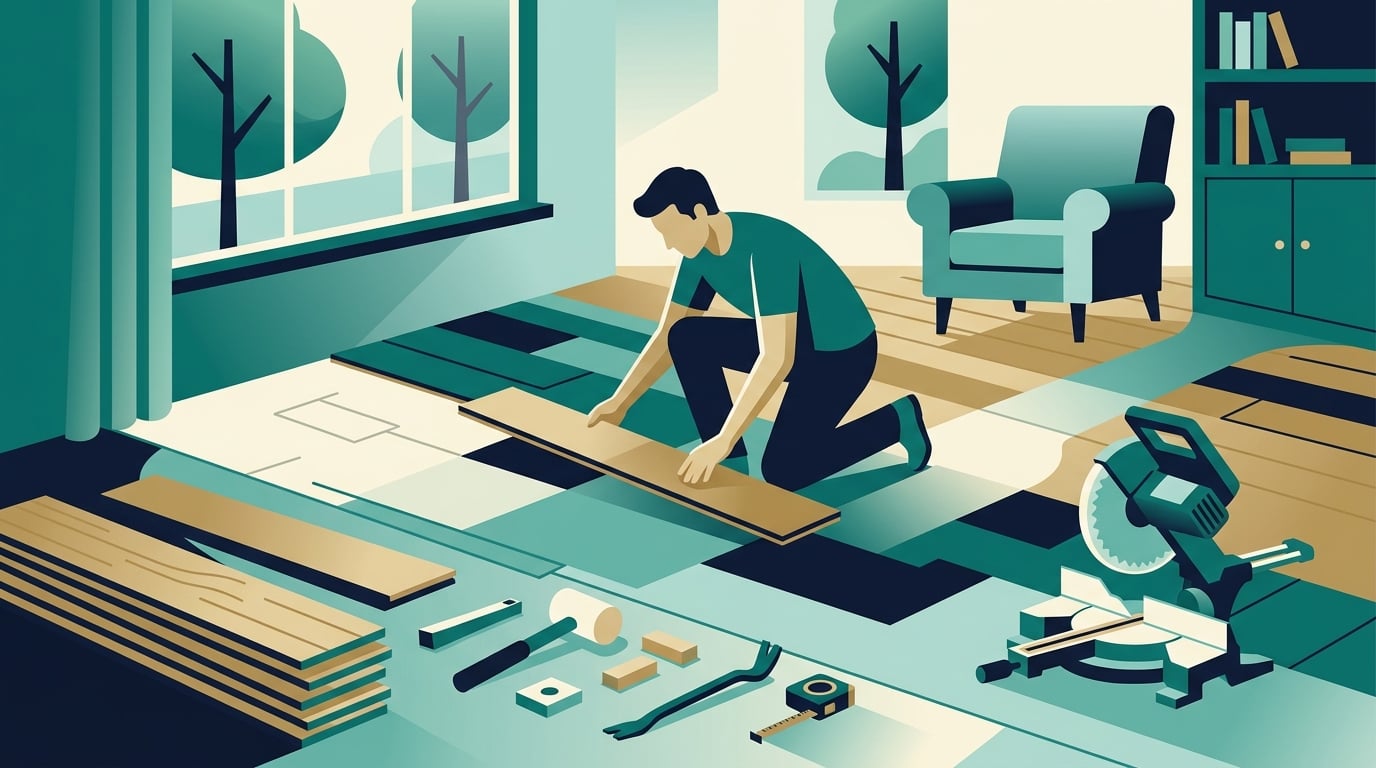
How to Tile a Floor Like a Pro: Calculating Materials, Waste, and Costs Before You Buy
Tiling a floor is one of the most satisfying DIY projects you can tackle — it transforms a room, adds real value to your home, and lasts for decades when done right. But here's where most first-timers go wrong: they show up at the tile store without a clue how much they actually need. They either buy too little (and discover the tile is discontinued mid-project) or too much (and spend hundreds of dollars on boxes that sit in the garage forever). The math isn't complicated — you just need to know the right formula.
Step 1: Measure Your Room Accurately
Start by measuring the length and width of the room in feet. For a simple rectangular room, multiply those two numbers to get your square footage. A 12-foot by 14-foot bathroom, for example, gives you 168 square feet. Easy enough.
But most rooms aren't perfect rectangles. If your space has an L-shape, alcoves, or a closet, break it into smaller rectangles, calculate each section separately, and add them together. Sketch it out on paper — even a rough drawing helps you avoid mistakes. If you're working in metric and need to convert your measurements, the Unit Converter makes it simple to switch between feet, inches, meters, and centimeters without doing the math by hand.
Don't forget to subtract areas you won't be tiling — like a large kitchen island with a fixed base, a built-in bathtub surround, or a fireplace hearth. Measure those obstacles and subtract their square footage from your total.
Step 2: Add the Waste Factor (This Is Where People Get Burned)
Here's the rule that separates experienced tilers from frustrated beginners: always buy more tile than your square footage calculation says you need. Tiles break during cutting. You'll make mistakes. Diagonal patterns require more cuts. Irregular room shapes create more waste. And if you ever need to replace a cracked tile years from now, you'll want extras from the same dye lot.
The standard waste factor guidelines are:
Straight lay pattern (tiles parallel to walls): Add 10% extra
Diagonal or 45-degree pattern: Add 15% extra
Herringbone or complex patterns: Add 20% or more
Rooms with lots of obstacles or irregular shapes: Add an extra 5% on top of the above
So for our 168 square foot bathroom with a straight lay pattern, you'd multiply 168 × 1.10 = 184.8 square feet. Round up to 185 square feet to be safe. Use the Percentage Calculator to quickly figure out your waste factor — just enter your base square footage and the percentage to add, and you'll have your final purchase number in seconds.
Step 3: Convert Square Footage to Tile Boxes
Tiles are sold by the box, and each box covers a specific square footage listed on the label. Divide your total adjusted square footage by the coverage per box to find out how many boxes you need. Always round up — never down.
For example: if each box covers 15 square feet and you need 185 square feet, that's 185 ÷ 15 = 12.33 boxes. Round up to 13 boxes. Buying 12 would leave you short by half a box, and there's a real chance the store won't have more from the same production run when you go back.
If the tile dimensions are listed in centimeters and you're working in inches, the Metric-Imperial Converter will save you from a headache — just convert the tile size to inches, calculate the area per tile, and figure out how many tiles fit per box.
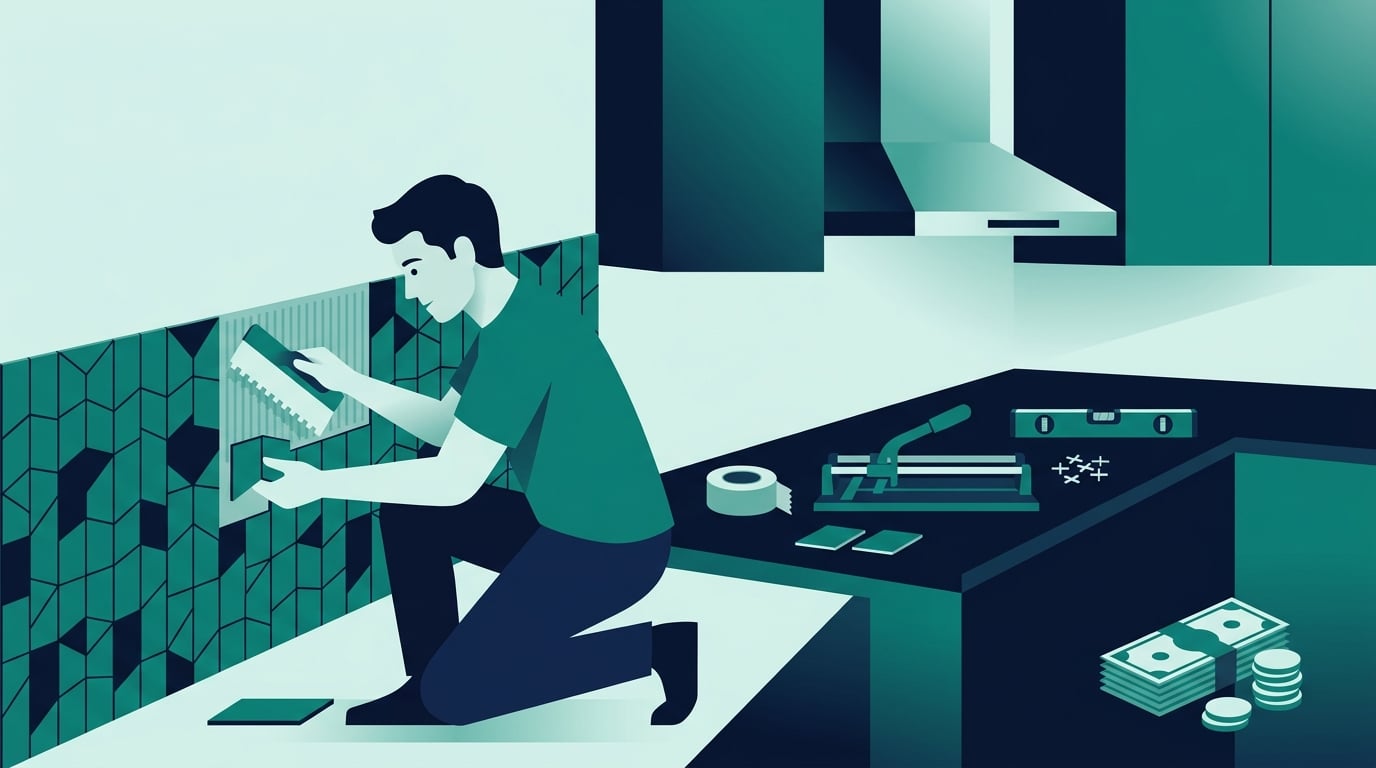
Step 4: Don't Forget the Other Materials
Tile is just one part of the equation. A complete floor tiling project also requires:
Thinset mortar: Typically covers 40–50 square feet per 50-pound bag when applied with a 3/8-inch notched trowel. For 185 square feet, plan on 4–5 bags.
Grout: Coverage varies by tile size and joint width. Check the manufacturer's chart — a 10-pound bag of sanded grout typically covers 50–100 square feet for standard 12×12 tiles with 3/16-inch joints.
Tile spacers: Buy a bag of 1/8-inch or 3/16-inch spacers depending on your desired grout joint width. You'll use roughly 4 spacers per tile.
Backer board (if needed): If you're tiling over a wood subfloor, you'll need cement board. Calculate the same square footage as your tile, sold in 3×5-foot sheets (15 sq ft each).
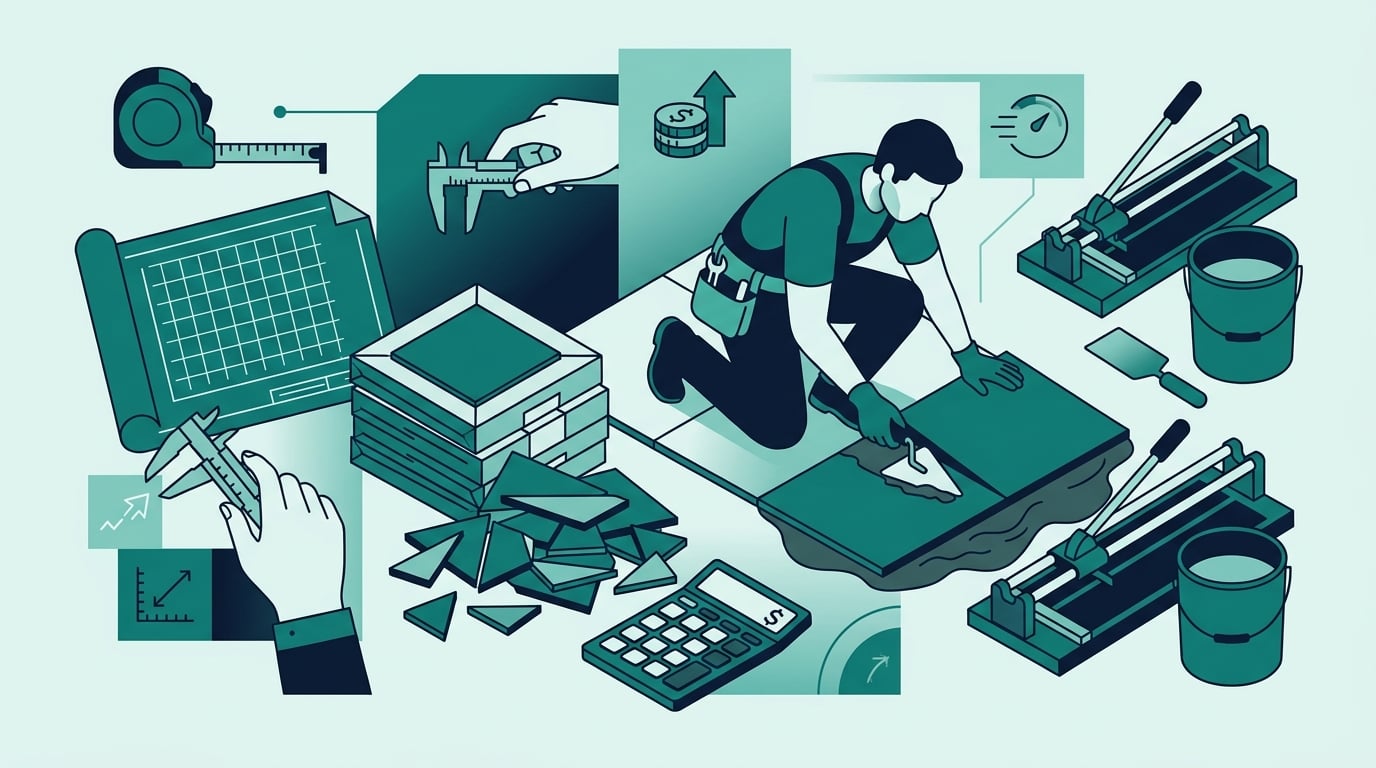
Step 5: Estimate Your Total Project Cost
Once you know your quantities, pricing out the project is straightforward. Here's a rough cost breakdown for a 185 square foot bathroom floor using mid-range ceramic tile:
Tile (13 boxes at $35/box): ~$455
Thinset mortar (5 bags at $18/bag): ~$90
Grout (2 bags at $22/bag): ~$44
Cement backer board (13 sheets at $12/sheet): ~$156
Tile spacers, grout sealer, miscellaneous: ~$30
Total materials: roughly $775 for a DIY job. A professional installer would charge $3–$7 per square foot in labor on top of materials — so doing it yourself on a 185 square foot floor could save you $555–$1,295. That's a compelling reason to learn the skill.
Pro Tips Before You Start Laying Tile
Find the center of the room first. Snap chalk lines from the midpoints of opposite walls to find the true center. Start laying tile from the center outward so cuts are symmetrical on both sides of the room.
Do a dry lay before you commit. Lay out a row of tiles without mortar to see how the pattern falls and where cuts will land. Adjust your starting point if a cut would leave a sliver of tile at the wall — anything less than half a tile looks awkward.
Check your subfloor for flex. Tile cracks when the floor underneath moves. Walk the floor and feel for soft spots. Any deflection more than 1/360th of the span needs to be addressed before you tile.
Mix tiles from multiple boxes. Slight color variations between boxes are normal. Open 3–4 boxes at once and pull tiles randomly to blend any variation across the floor.
The Bottom Line
Tiling a floor is a project that rewards careful planning. Spend 20 minutes doing the math before you go to the store, and you'll avoid the two most common (and expensive) mistakes: running out of tile mid-project and buying so much extra that you're storing boxes for years. Measure accurately, add your waste factor, convert your units if needed, and round up on every material. Do that, and you'll walk into the tile store with confidence — and walk out with exactly what you need.